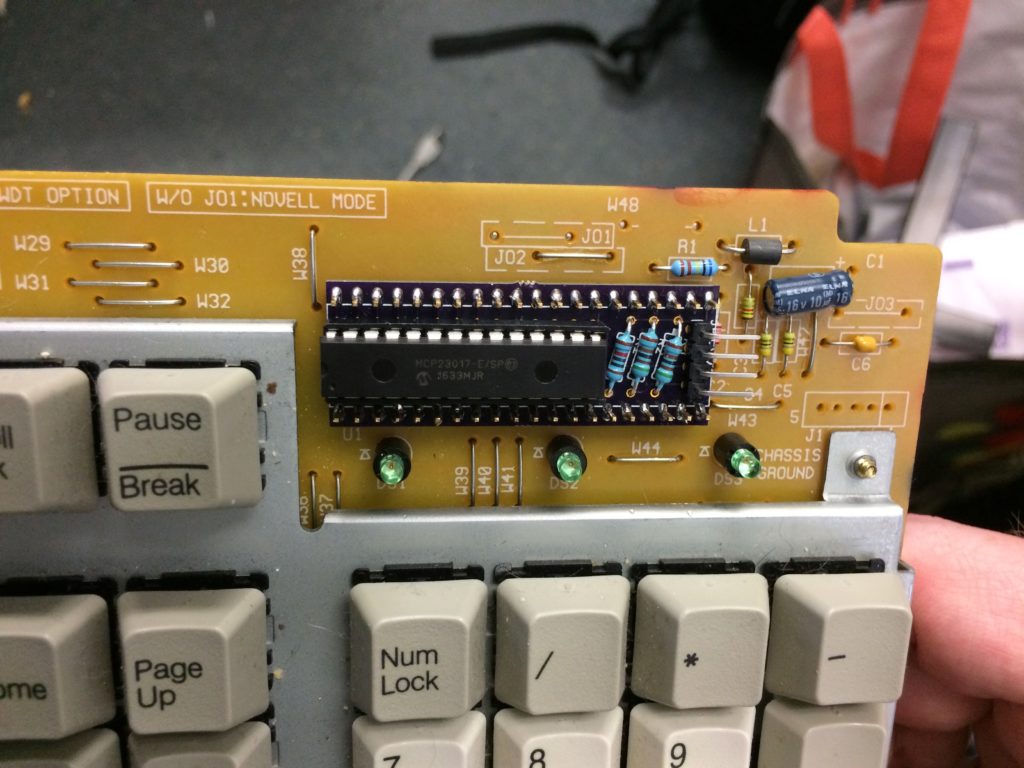
The obvious next step in cleaning up the wiring was to connect the IO expander chip directly to the keyboard PCB. Doing it with protoboard would have been a tight fit, so this was my first experience designing a custom PCB. I drew it up in EAGLE CAD, and sent if off to OSHPARK to be manufactured for ridiculously cheap. ($9 for 3, if I recall correctly).

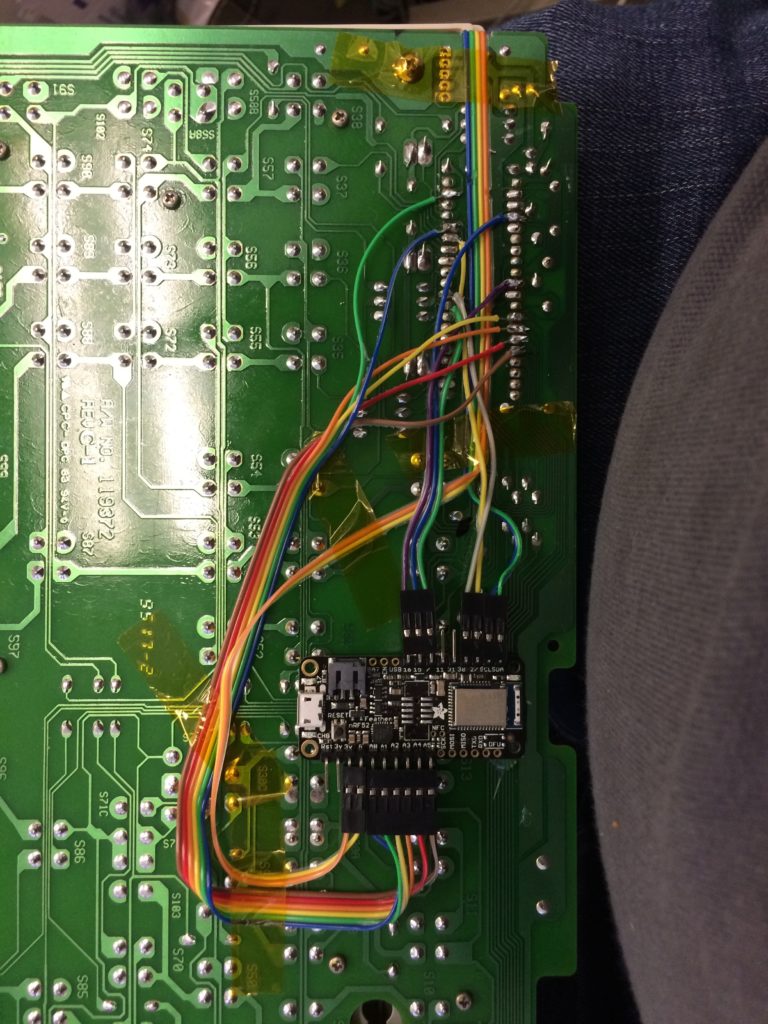
The board held the IO expander chip, three resistors needed to make it work, and a 4-pin connector for the power/ground/clock/data lines to the bluetooth board. It cleaned up a lot of the wiring, but there was still the mess of the rows/LEDs running to the bluetooth board:

Once again it worked, but I knew I could do better.
