
Once it became clear that the jetpack might be comparable in appearance to the production hero props, I was motivated to put in a lot of extra effort. Among other things, I decided that adding electronics effects was something I wanted to do now, as opposed to maybe something at some point in the future. As mentioned, the Veepy jetpack design included mounting options for engine speakers (both 3 and 4″ speakers, seriously that design is so good), LED rings in the lower engines, and a central fan motor and PCBs for electronics.
A lot of the motivation for the project is learning new skills (and collecting their associated tools), which I always love. With my previous microcontroller work on vintage keyboard conversions, I could certainly have come up with an effects solution from scratch. But my time does have value, and I’m happy to spend money on solutions that are probably better than whatever I’d have come up with.
So, I ordered the Valor Jetpack FX Kit, and I’m certainly pleased with it. It’s a single PCB (with a daughterboard handling audio) that fits on the Veepy mounting bracket, it comes with RGB LED rings that mount onto the Veepy LED ring mounting points, It comes with a single cheap 3″ speaker, and connections to a fan motor. It’s powered off of cheap, readily available lithium-ion batteries marketed for heated gloves, and it has external connections for the activation trigger, an on/off switch, and a couple of always-on 5VDC outputs.
The Valor FX board includes additional instructions/diagrams for some upgrades: powering and hooking up a wireless remote trigger, and hooking up an external audio amplifier, since the built-in amp is pretty weak. I went with both of those options.
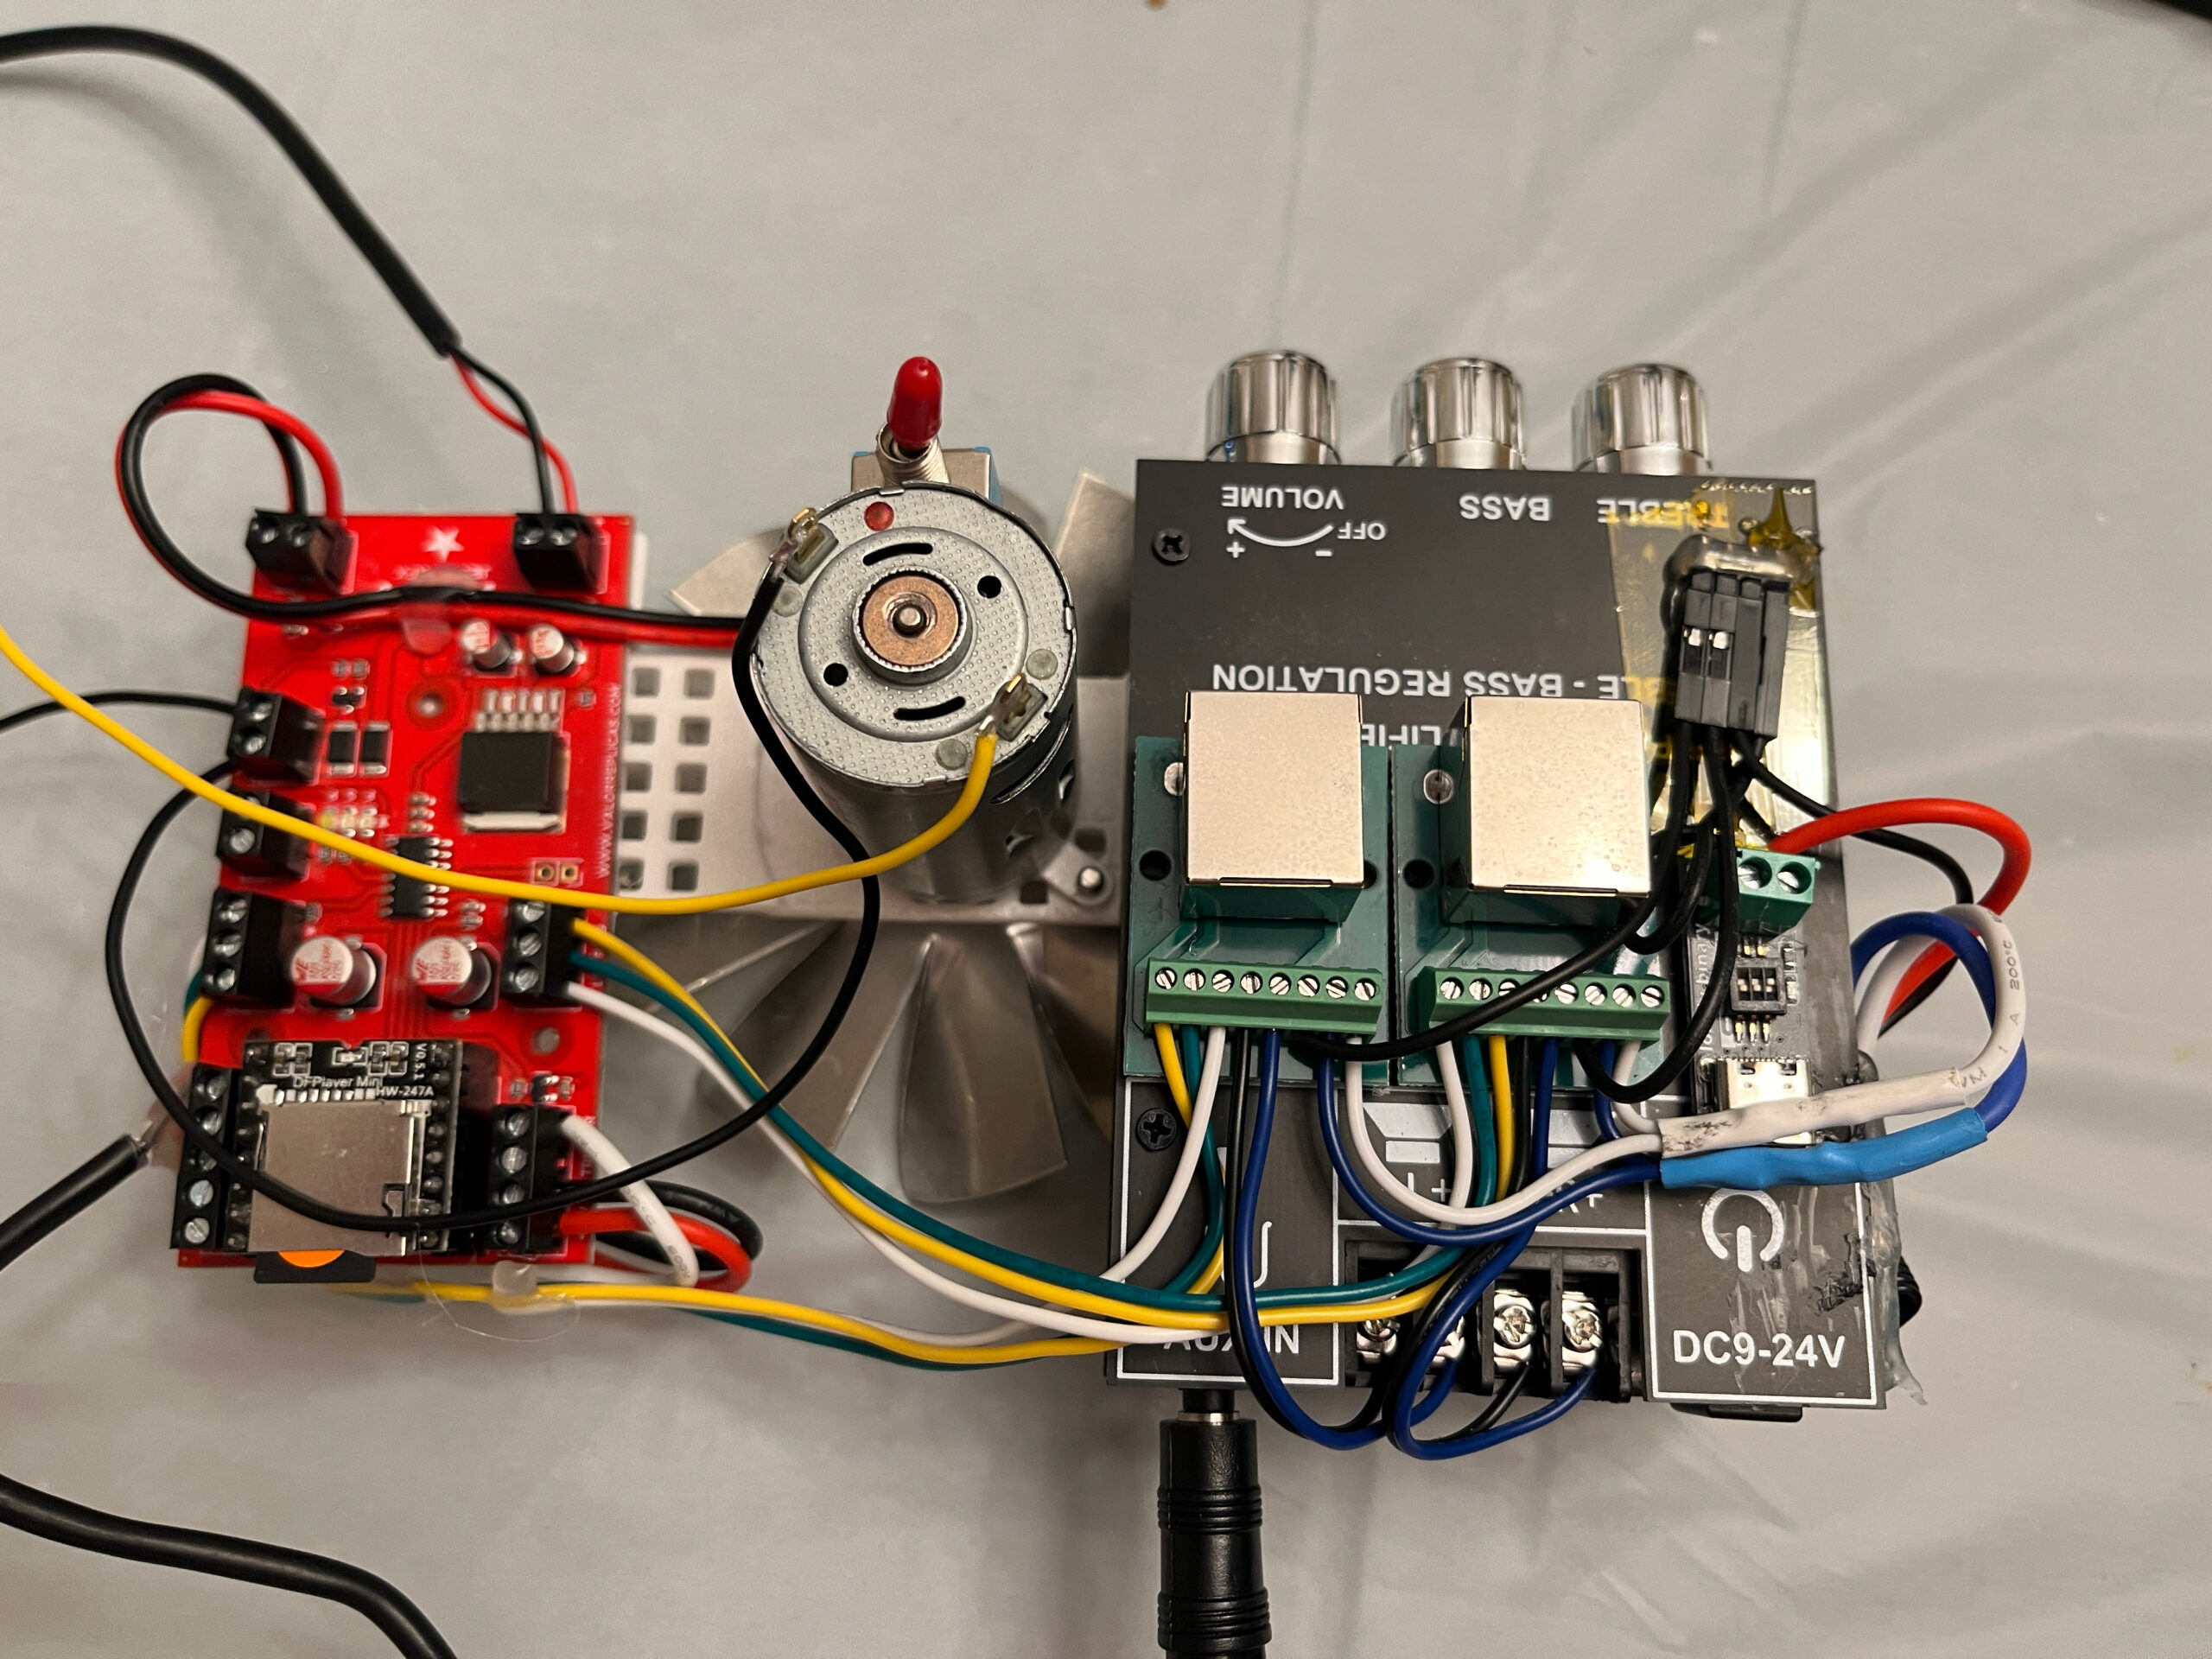
(This isn’t the final version of the central electronics, but it’s close. The Valor FX board is on the left, the fan motor is in the middle, and the audio amp is on the right. The amp has a couple of RJ45 (ethernet) breakout boards on it for the connections to the engines.)
For the audio amplifier, I picked up a cheap little class-D amplifier with flexible power requirements (9-24v) and bass/treble adjustments. It has bluetooth support which I didn’t want or need, but it looks like all the options in this category include that now. I planned to power the amp off of 12VDC. To go with the amp, I picked up a pair of Pioneer 4″ speakers and mounted one on each engine.
I bought the RF remote trigger boards that were recommended in the Valor instructions. They consist of a small PCB with four wires sticking out — input (VCC/ground, the VCC will take a good range of voltages) and output (not a relay like I expected, but the same VCC/ground as the input. Surprisingly the output VCC line is connected all of the time, and it switches the ground connection to open or not. Odd. The output current is limited to 2A or so, and they mean it — this became important later when I was making the exhaust system. The included RF remotes have 2 buttons, but I was only planning on using one. The remote receiver boards had two nice features that were very convenient for me: first, they had no problem pairing the same remote to two separate boards, which means I could use separate receiver boards to trigger the exhaust and FX board, but triggered from a single remote. Secondly, they were configurable for different behaviors, so I could set it up as a momentary button instead of an on/off toggle. This was critical if I was using two of the receivers with one remote, because I wouldn’t want the receivers to get out of sync with their power states.

The LED rings consisted of 24 WS2812B units on ring-shaped PCBs, individually addressable. The rings were each connected to the FX board with 3 wires, and it made some nice red/orange/yellow animations to simulate the light from the engines. I felt like the light would look a lot better if it were illuminating some kind of fog or mist, which turned out to significantly expand the scope of the project.
The Valor FX board is also designed to drive a fan motor, and seems to use the full battery voltage (~7.4VDC) for this. The Veepy jetpack instructions called for a specific size of motor (both for mounting holes and for the fan shaft), but the only readily-available motor I found that was an exact match was designed to run at 200RPM, accomplished by having an integrated gear box. This worked, but ran a bit slower than ideal, and I didn’t like the plastic gearbox sound that it made. So I kept my eyes out for an alternative, and eventually I settled for a motor that didn’t match either size requirement. It was too small for the mounting points on the jetpack’s mounting bracket, but I designed and printed a mounting adapter. It also had a smaller shaft, so I printed something for that as well. That fan was great, and it was fast. It didn’t have the gearbox sound, but it did sound like a fan moving a lot of air. I ordered a cheap PWM motor speed controller board and wired that up, and it was perfect for letting me dial in the speed I wanted.